Replacing a boiler can feel like a big job, especially if you have never had it done before. Most homeowners know the end result they want: reliable heating, steady hot water and a system that is easier to run. But the actual installation process can feel unclear.
Will the heating be off all day? Will pipework need changing? Does the boiler have to stay in the same place? How much disruption should you expect?
The exact process depends on your home, your existing heating system and the type of boiler being installed. However, most boiler replacements follow a fairly clear sequence.
This guide explains what usually happens before, during and after a boiler replacement, in simple terms.
Why Homeowners Replace a Boiler
A boiler replacement is usually considered when the existing boiler is old, unreliable, inefficient or no longer suitable for the property.
Common reasons include:
- Frequent breakdowns
- No heating or hot water
- Rising repair costs
- Difficulty finding replacement parts
- Poor hot water performance
- Radiators taking too long to heat up
- Unusual boiler noises
- Leaks or pressure problems
- An old non-condensing boiler
- A home renovation or heating system upgrade
Sometimes a boiler can be repaired. In other cases, replacement is the more practical long-term option, especially if the boiler is old and repeated repairs are becoming expensive.
Before Installation: The Home Survey
A good boiler replacement should start with a proper assessment of the property.
The installer needs to understand how your current heating and hot water system works before recommending a new boiler. This is not just about choosing a boiler that fits on the wall. It is about making sure the new system is suitable for the size of the home, the number of bathrooms, hot water demand, radiator layout, pipework and controls.
During a survey, an installer may check:
- The current boiler type
- Boiler location
- Flue position
- Gas supply pipework
- Water pressure and flow rate
- Existing radiators
- Heating controls
- Hot water cylinder, if present
- Pipework routes
- Condensate drain options
- Ventilation requirements
- Access for installation and servicing
- Whether the system needs cleaning or flushing
This helps avoid problems later and makes sure the quote is based on the actual property, not just a standard boiler swap.
Choosing the Right Type of Boiler
Before work begins, the installer will usually confirm what type of boiler is being fitted.
The main domestic boiler types are:
Combi Boiler
A combi boiler provides heating and hot water directly from the boiler, without needing a separate hot water cylinder. It is common in smaller and medium-sized homes where space is limited.
System Boiler
A system boiler works with a hot water cylinder. It can be suitable for homes with higher hot water demand, such as properties with more than one bathroom.
Regular Boiler
A regular boiler, sometimes called a conventional or heat-only boiler, usually works with a hot water cylinder and cold water storage tanks. These are often found in older heating systems.
The right option depends on the property. A combi boiler may be ideal for one household, while a system boiler may be better for another.
Is It a Like-for-Like Replacement or a System Change?
The level of work depends heavily on whether the replacement is straightforward or whether the heating system is being changed.
A like-for-like boiler replacement usually means replacing the old boiler with a similar type in the same location. This is often the simplest option.
A system conversion is more involved. For example, switching from a regular boiler with tanks to a combi boiler may require removing tanks, changing pipework and altering the hot water system.
A boiler relocation also adds work. Moving a boiler from a kitchen to a loft, garage or airing cupboard may require new pipe routes, a new flue position, condensate pipework and extra making good.
In general, the more the system changes, the more time and disruption there may be.
Preparing for Installation Day
Before installation day, the homeowner may be asked to prepare the area around the boiler.
This may include:
- Clearing cupboards around the boiler
- Moving furniture near radiators or controls
- Keeping access routes clear
- Making sure someone is available to let installers in
- Removing items from airing cupboards, loft spaces or garages if needed
- Making space near the stop tap, gas meter or hot water cylinder
- Checking where pets or children will be during the work
The installer should explain what access they need before they arrive.
It is also worth asking how long the heating and hot water are likely to be off. For a straightforward replacement, this may only be during the working day. More complex jobs may take longer.
Step 1: Protecting the Work Area
When installers arrive, they will usually start by protecting the areas where they will be working.
This can include dust sheets, floor protection and covering surfaces near the boiler or pipework. If radiators are being worked on, protection may also be used in those rooms.
A tidy installation matters because boiler replacement can involve water, old pipework, drilling, lifting equipment and removing the old unit.
The installer may also walk through the planned work with you before starting, especially if anything has changed since the survey.
Step 2: Isolating the Existing System
Before the old boiler is removed, the heating system needs to be made safe.
This usually involves isolating the boiler from the gas, electricity and water supplies. The heating system may also need to be drained so that pipework and the boiler can be disconnected without water escaping.
This stage may include:
- Turning off the boiler
- Isolating gas supply to the appliance
- Isolating electrical supply
- Shutting off water where needed
- Draining the heating system
- Checking pressure has been released
- Making sure the system is safe to work on
For gas boilers, this work should be handled by a suitably qualified Gas Safe registered engineer.
Step 3: Removing the Old Boiler
Once the system is isolated and drained, the old boiler can be removed.
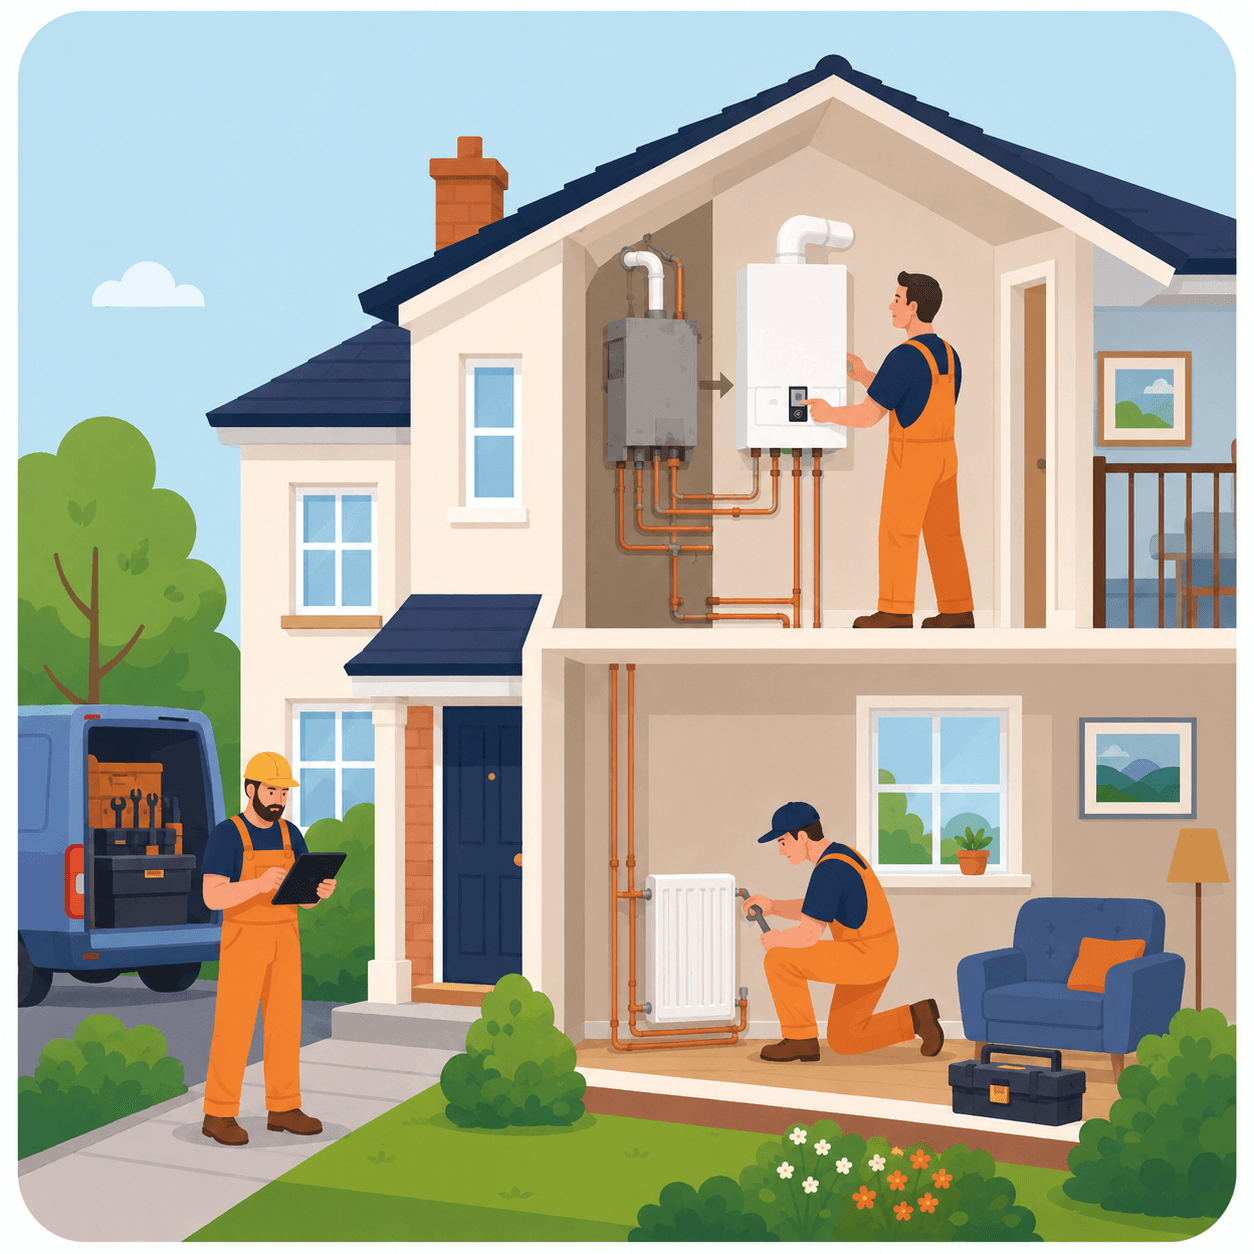
The engineer disconnects the pipework, flue and electrical connections before taking the unit off the wall or out of its existing position.
Depending on the boiler’s age and condition, this can be straightforward or more involved. Older boilers may have pipework that needs altering, parts that are difficult to access, or flue arrangements that no longer meet current requirements.
The old boiler is normally taken away for disposal unless agreed otherwise.
Step 4: Checking the Wall, Flue Route and Pipework
Before the new boiler is fitted, the installer checks that the location is suitable.
This may involve reviewing:
- Wall strength and mounting position
- Pipework alignment
- Flue route and termination position
- Condensate pipe route
- Access for future servicing
- Distance from windows, doors or boundaries
- Existing holes or wall penetrations
- Whether the area needs minor repairs before fitting
If the new boiler is going in the same place, some of the existing pipework may be reused or adapted. If it is being moved, more new pipework will be needed.
Step 5: Fitting the New Boiler
The new boiler is then mounted and connected.
This stage usually includes:
- Fixing the boiler bracket to the wall
- Hanging the boiler securely
- Connecting heating flow and return pipes
- Connecting hot and cold water pipework where relevant
- Connecting the gas supply
- Fitting the flue
- Connecting the condensate pipe
- Making electrical connections
- Installing or connecting controls
The boiler needs to be level, secure and accessible. It also needs enough space around it for servicing and maintenance.
The visible part of the job may look simple, but the connections behind and below the boiler are important. Neat, well-planned pipework can make future servicing easier.
Step 6: Installing the Flue
The flue is the pipe that carries combustion gases safely outside.
For many modern boilers, the flue passes horizontally through an external wall. In other cases, it may go vertically through the roof. The correct flue route depends on the boiler location and property layout.
The flue must be installed correctly, with suitable clearances from windows, doors, vents and other openings. It must also be sealed and supported properly.
If the old flue route is not suitable for the new boiler, the installer may need to alter it or create a new opening.
Step 7: Connecting the Condensate Pipe
Modern condensing boilers produce condensate, which needs to drain safely away.
This is usually handled by a condensate pipe running from the boiler to a suitable internal or external drain. Where possible, condensate pipework is often routed internally to reduce the risk of freezing in cold weather.
If external condensate pipework is needed, it should be installed with care, using suitable pipe size, insulation and fall.
A poorly installed condensate pipe can cause problems during cold weather, so this is an important detail.
Step 8: Cleaning or Flushing the Heating System
When a boiler is replaced, the existing heating system may need cleaning.
Over time, central heating systems can build up sludge, debris or corrosion. If this is left in the system, it can affect radiator performance and may cause issues with the new boiler.
Depending on the condition of the system, the installer may recommend:
- A chemical clean
- A hot flush
- A power flush
- Fitting a magnetic filter
- Adding inhibitor to protect the system
A magnetic filter is often fitted near the boiler to help capture circulating debris. Inhibitor is added to help reduce corrosion inside the system.
Not every system needs the same level of cleaning, but it should be considered before the new boiler is fully commissioned.
Step 9: Updating Heating Controls
A boiler replacement is a good time to review heating controls.
Modern controls can help you manage heating more effectively and avoid wasting energy. Depending on the system, this may include:
- Room thermostat
- Programmer or timer
- Smart thermostat
- Thermostatic radiator valves
- Hot water controls
- Zoned heating controls
- Weather or load compensation, where suitable
The controls should suit the household. A very advanced smart system is not always necessary, but a basic system with poor controls may not perform as well as it could.
The installer should explain how the controls work before leaving.
Step 10: Refilling and Pressurising the System
Once the new boiler and pipework are connected, the heating system is refilled with water.
The installer will bring the system back up to the correct pressure, check for leaks and make sure radiators and pipework are working properly.
This stage may include:
- Refilling the heating circuit
- Bleeding radiators
- Checking system pressure
- Checking radiator valves
- Looking for leaks
- Confirming water circulation
- Adding inhibitor where needed
You may hear radiators being bled or the system filling during this stage. This is normal.
Step 11: Testing and Commissioning the Boiler
Commissioning is the final technical setup of the boiler.
This is where the engineer checks that the boiler is working safely and correctly. It is not just a quick switch-on. It involves testing the appliance, checking gas and water connections, confirming safe operation and making sure the system performs as expected.
Commissioning may include:
- Checking gas pressure
- Checking for gas leaks
- Testing combustion performance
- Checking flue operation
- Testing hot water
- Testing central heating
- Checking safety devices
- Confirming condensate drainage
- Checking controls and thermostat
- Setting boiler parameters where needed
- Completing manufacturer commissioning paperwork
This stage is essential for safety, performance and warranty purposes.
Step 12: Registering the Installation
After a boiler replacement, paperwork matters.
For gas boilers, the installation should be registered by the installer where required, and the homeowner should receive the appropriate Building Regulations compliance certificate. The boiler warranty may also need to be registered with the manufacturer.
You should expect to receive or be told about:
- Boiler benchmark or commissioning record
- Building Regulations compliance certificate
- Manufacturer warranty registration
- Gas Safe notification, where applicable
- User manual
- Service schedule
- Installer contact details
- Any filter, controls or system cleaning information
Keep these documents safe. They may be needed for future servicing, warranty claims or when selling the property.
Step 13: Handover and Homeowner Demonstration
A good installation should end with a clear handover.
The installer should show you:
- How to turn the boiler on and off
- How to adjust heating and hot water settings
- How to use the thermostat or programmer
- What the pressure gauge should show
- What to do if pressure drops
- How to top up the system, if appropriate
- What warning lights or fault codes mean
- How often the boiler should be serviced
- Where the emergency isolation points are
- Who to contact if there is a problem
This is especially important if the new boiler or controls work differently from your old system.
How Long Does a Boiler Replacement Take?
A straightforward like-for-like boiler replacement can often be completed in one day. More complex installations may take two or more days.
The timescale depends on:
- Whether the boiler is staying in the same place
- Whether the boiler type is changing
- Whether pipework needs altering
- Whether a hot water cylinder or tanks are being removed
- Whether radiators or controls are being upgraded
- Whether a system flush is needed
- Whether the flue route needs changing
- Whether access is difficult
Your installer should give you a realistic timescale before work begins.
Will You Be Without Heating and Hot Water?
During the installation, heating and hot water will usually be off for at least part of the day.
For a straightforward replacement, the system may be back up and running by the end of the working day. For larger jobs, it may take longer.
If the work is happening during cold weather, it is sensible to ask how long services will be unavailable and whether any temporary arrangements are needed.
Will Radiators Need Replacing Too?
Not always.
Many boiler replacements use the existing radiators, provided they are in good condition and correctly sized for the rooms. However, radiators may need attention if they are old, leaking, badly positioned, undersized or full of sludge.
The installer may recommend radiator work if:
- Some rooms do not heat properly
- Radiators are badly corroded
- The heating system is being redesigned
- The new boiler requires better system performance
- You are adding thermostatic radiator valves
- You are improving comfort in cold rooms
Sometimes heating problems are caused by the wider system, not just the boiler.
What About Pipework?
Some pipework changes are common during boiler replacement.
These may be needed because the new boiler’s connections are in a different position, because old pipework is unsuitable, or because the system is being upgraded.
Pipework may be altered for:
- Heating flow and return
- Hot and cold water
- Gas supply
- Condensate drainage
- Pressure relief discharge
- Flue positioning
- Magnetic filter installation
- New controls or sensors
In older homes, pipework may need extra checking, especially if previous work has been added over time.
Can a Boiler Be Moved to a New Location?
Yes, in many homes a boiler can be moved, but it usually makes the job more complex.
Common boiler locations include:
- Kitchen
- Utility room
- Airing cupboard
- Loft
- Garage
- Bathroom cupboard, if suitable
- Plant room or service cupboard
Moving a boiler may require new pipe runs, a new flue route, condensate drainage, electrical work and making good the old location.
A boiler in a loft may also require safe access, lighting, boarding and appropriate clearances for servicing.
The best location is not always the most hidden one. It needs to be safe, practical, serviceable and suitable for the property.
Common Things Homeowners Notice After Installation
After a boiler replacement, you may notice some differences.
These can include:
- Faster hot water response
- Quieter operation
- More stable heating
- Different controls
- Radiators needing balancing
- Different system pressure behaviour
- A new condensate pipe
- A new flue position
- More visible pipework near the boiler
- A filter fitted near the boiler
It can take a little time to get used to a new boiler, especially if your old one had very basic controls.
What Could Delay Installation?
Most boiler replacements are planned carefully, but unexpected issues can appear once work begins.
Possible delays include:
- Poor existing pipework
- Hidden leaks
- Unsafe previous installation work
- Flue route problems
- Inadequate gas supply pipe size
- Condensate drainage issues
- Electrical faults
- Difficult access
- Damaged walls behind the old boiler
- Sludge or debris in the heating system
A good installer should explain any issues clearly and talk through the options before making changes.
Questions to Ask Before Installation
Before agreeing to a boiler replacement, it is worth asking:
- What type of boiler is being installed and why?
- Is it a like-for-like replacement or a system change?
- Will the boiler stay in the same location?
- Will any pipework need altering?
- Will the system be flushed or cleaned?
- Will a magnetic filter be fitted?
- Are new controls included?
- How long will the installation take?
- How long will heating and hot water be off?
- Will I receive certification and warranty paperwork?
- How often will the boiler need servicing?
- What should I do if I notice pressure loss or a fault code?
Clear answers before the work begins can prevent confusion later.
Final Thoughts
A boiler replacement is more than simply swapping one white box for another. A proper installation involves assessing the property, choosing the right boiler, safely removing the old unit, adapting pipework where needed, fitting the new boiler, testing the system and completing the correct paperwork.
For many homes, a straightforward replacement can be completed with limited disruption. More complex jobs, such as moving the boiler or changing the system type, may take longer and need more planning.
The most important thing is that the work is carried out safely, properly and with clear communication throughout. A well-installed boiler should not only provide heating and hot water, but also work well with the rest of the system, including radiators, pipework, controls and insulation.
At Warmr, we help homeowners understand practical energy-efficient home upgrades, including boiler replacements, heating improvements, insulation and wider home efficiency measures. The right approach starts with understanding the property and making sure the installation is suitable for the way the home is used.