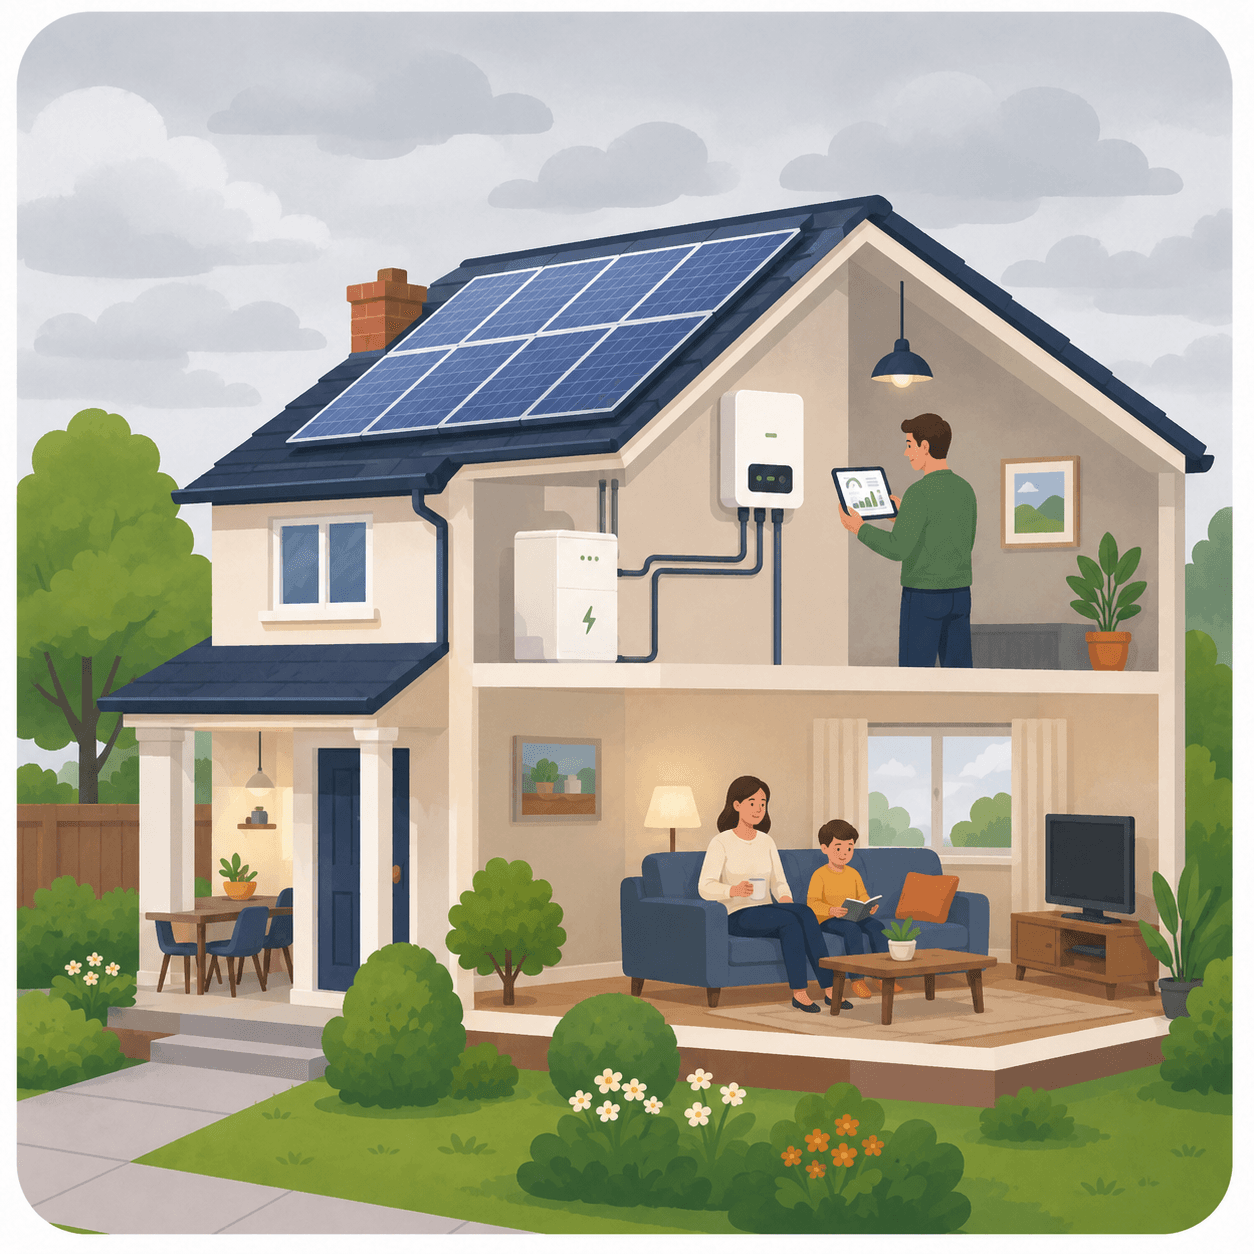
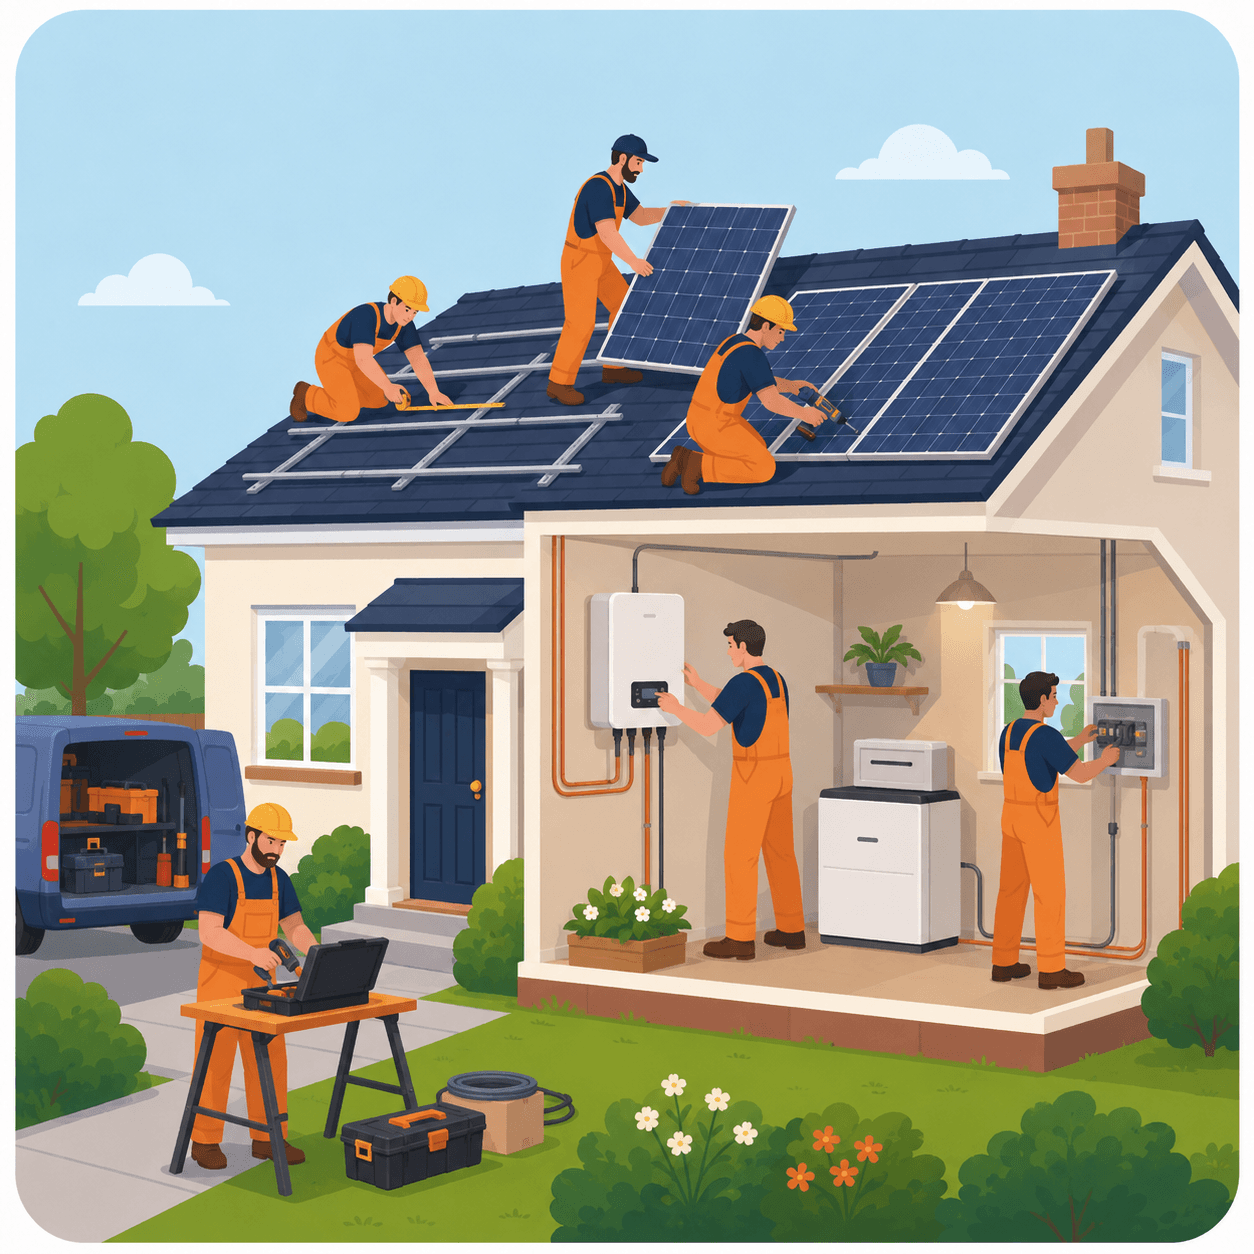
Solar panels are now a familiar sight on homes across the UK. They can help generate clean electricity from daylight, reduce reliance on grid electricity and support a more energy-efficient home.
But if you are thinking about having solar panels installed, the process can feel a little unclear at first. What does the installer check? Will scaffolding be needed? How are panels fixed to the roof? Where does the inverter go? And what happens once the system is switched on?
This guide explains how solar panels are usually installed, step by step, in simple homeowner-friendly terms.
What Are Solar Panels?
Solar panels, also known as solar PV panels, use photovoltaic cells to turn sunlight into electricity.
The electricity generated by solar panels is direct current, known as DC electricity. Your home uses alternating current, known as AC electricity, so the system includes an inverter that converts the electricity into a form your appliances can use.
A typical home solar PV system may include:
- Solar panels on the roof
- Roof mounting rails and fixings
- DC cabling from the panels
- An inverter
- AC cabling into the home’s electrical system
- Generation meter or monitoring equipment
- Optional battery storage
- Optional solar diverter for hot water
- Safety isolation switches
The panels are the most visible part, but the rest of the system is just as important.
Step 1: Initial Enquiry and Energy Use Review
The first stage is usually a conversation about your home and energy use.
The installer may ask about:
- Your current electricity usage
- Whether you are usually home during the day
- Whether you have or plan to get an electric vehicle
- Whether you have a heat pump or electric heating
- Whether you are interested in battery storage
- Your roof type and available roof space
- Any shading from trees, chimneys or nearby buildings
- Whether the property is listed or in a conservation area
This helps the installer understand what type of system may be suitable.
A home that uses a lot of electricity during daylight hours may benefit differently from a home where most electricity is used in the evening. This does not mean solar panels are only useful for daytime households, but it can affect the design, battery options and expected self-use.
Step 2: Roof Suitability Check
Before designing a solar panel system, the roof needs to be assessed.
The installer will look at whether the roof is suitable for solar panels and how much electricity the system is likely to generate.
Important checks include:
- Roof orientation
- Roof pitch
- Available roof area
- Shading
- Roof covering type
- Roof age and condition
- Structural suitability
- Chimneys, vents and roof windows
- Access for installation
- Whether scaffolding is needed
A south-facing roof is often ideal, but east and west-facing roofs can still work well. The exact output depends on the property and system design.
The roof should also be in good condition. If roof repairs are likely soon, it may make sense to deal with those before installing panels.
Step 3: Shading Assessment
Shading can have a noticeable effect on solar panel performance.
The installer will check whether the roof is shaded by:
- Trees
- Chimneys
- Neighbouring buildings
- Dormer windows
- Roof features
- Aerials or satellite dishes
- Nearby hills or obstructions
Some shading is seasonal. For example, a tree may cast a longer shadow in winter than in summer.
If shading is unavoidable, the installer may consider design options such as panel optimisers, microinverters or a different panel layout. The goal is to reduce the impact of shading as much as practical.
Step 4: Electrical Survey
Solar panels connect into your home’s electrical system, so the installer also needs to check the electrical setup.
This may include looking at:
- Consumer unit condition
- Main fuse rating
- Meter location
- Earthing and bonding
- Cable routes
- Available space for isolators
- Inverter location
- Existing electrical safety
- Whether upgrades are needed
The electrical side of solar installation is important. A neat panel layout is only part of the job; the system also needs to be safely connected, protected and tested.
Step 5: System Design
Once the roof and electrical setup have been assessed, the installer designs the solar PV system.
This normally includes:
- Number of panels
- Panel layout
- System size
- Expected annual generation
- Inverter type and size
- Cable routes
- Mounting method
- Battery storage options, if included
- Monitoring setup
- Estimated self-consumption
- Export considerations
The design should be based on the property, not simply on fitting as many panels as possible.
A bigger system may generate more electricity, but the best design depends on roof space, shading, energy use and budget. For some homes, a slightly smaller system in a better position may perform more effectively than trying to cover every available section of roof.
Step 6: Planning and Permissions
Many domestic roof-mounted solar panel installations fall under permitted development, meaning planning permission is not usually required.
However, there are exceptions. Extra checks may be needed if the property is:
- Listed
- In a conservation area
- In a national park or protected landscape
- A flat or maisonette
- Subject to local restrictions
- Being fitted with panels on a prominent elevation
- Using a ground-mounted system
- Having panels installed on an outbuilding
It is always worth checking before work begins. Your installer may be able to advise, but the local planning authority is the final source for planning requirements.
Building Regulations also matter, particularly around structural safety and electrical safety. A good installer should make sure the work is designed and installed appropriately.
Step 7: DNO Notification or Application
Your solar panel system connects to the electricity network, so the local Distribution Network Operator, often called the DNO, needs to be notified.
For smaller systems, this may be a simple notification after installation. For larger systems or certain setups, approval may be needed before installation.
The installer usually handles this process, but it is useful to understand that it exists.
The DNO process helps make sure the system can connect safely to the local electricity network.
Step 8: Scaffolding and Site Preparation
Before the panels are installed, scaffolding is often put up to provide safe roof access.
Scaffolding helps installers work safely and move panels into position. The amount needed depends on the property, roof height, access and layout.
Site preparation may also include:
- Clearing access around the house
- Moving vehicles from driveways
- Protecting paths or garden areas
- Confirming cable routes
- Confirming inverter location
- Checking roof access
- Reviewing the installation plan with the homeowner
For most homes, the main disruption is outside the property, but installers may also need indoor access for electrical work and inverter installation.
Step 9: Roof Fixings Are Installed
The first physical installation step on the roof is fitting the mounting system.
The exact method depends on the roof type. On many tiled roofs, installers carefully lift or remove tiles where needed and attach roof hooks or brackets to the roof structure. Mounting rails are then fixed to these brackets.
The panels are not usually attached directly to the tiles. They are secured to a mounting system that transfers the load appropriately.
The installer must make sure the roof remains weatherproof after the fixings are fitted. Tiles should be replaced or adjusted properly, and flashing or specialist fixings may be used where needed.
Step 10: Mounting Rails Are Fitted
Once the roof brackets are secure, mounting rails are installed.
These rails create the framework that holds the solar panels in place. They need to be correctly aligned, securely fixed and suitable for the panel layout.
The rails are checked for:
- Level alignment
- Correct spacing
- Secure attachment
- Suitable roof clearance
- Wind loading requirements
- Panel layout accuracy
This stage is important because the rails support the panels for many years.
Step 11: Solar Panels Are Fixed to the Roof
The solar panels are then lifted onto the roof and clamped to the mounting rails.
Installers will usually work across the roof in a planned sequence, fixing each panel securely and connecting panel cables as they go.
During this stage, the installer checks:
- Panel alignment
- Clamp positions
- Cable management
- Roof clearance
- Safe spacing from roof edges
- Whether panels are secure
- Whether panels match the approved layout
A tidy installation should look neat from the ground, with panels aligned and cables safely managed underneath.
Step 12: DC Cabling Is Routed
Solar panels produce DC electricity, so cabling needs to run from the roof array to the inverter.
Cable routes vary by property. They may run:
- Under roof tiles
- Through loft space
- Down an external wall in conduit
- Through a service void
- Into a garage, utility room or cupboard
- To an inverter mounted inside or outside, depending on the equipment
Cable routes should be neat, protected and planned carefully. Poor cable management can create future maintenance issues, so this is an important part of the installation.
Step 13: The Inverter Is Installed
The inverter is the part of the system that converts DC electricity from the panels into AC electricity for your home.
Common inverter locations include:
- Loft
- Garage
- Utility room
- Plant room
- Outside wall, if the inverter is rated for outdoor use
- Near the consumer unit, where practical
The inverter should be installed somewhere accessible, ventilated and suitable for the manufacturer’s requirements. It should not be hidden somewhere that makes servicing or monitoring difficult.
If battery storage is being installed, the inverter setup may be different. Some systems use a hybrid inverter that works with both the panels and battery.
Step 14: Connection to the Electrical System
The solar PV system is then connected to the home’s electrical system.
This work should be completed by a qualified installer or electrician. It may include:
- AC cabling from the inverter
- Isolation switches
- Connection to the consumer unit
- Generation meter or monitoring equipment
- Battery connection, if included
- Labelling
- Surge protection, where required
- Electrical testing
The system must be installed safely so it can generate electricity, supply the home and export surplus power where appropriate.
Step 15: Battery Storage, If Included
If battery storage is part of the system, it will usually be installed at the same time or connected as part of the overall setup.
A battery can store surplus solar electricity so it can be used later, such as in the evening or overnight.
Battery location matters. It needs to be suitable for:
- Manufacturer clearance requirements
- Ventilation
- Access
- Temperature conditions
- Electrical connections
- Weight
- Safety
- Future maintenance
Common locations include garages, utility rooms, plant rooms or suitable external walls, depending on the product.
Not every solar panel system needs a battery, but it can be useful for homes that generate more electricity than they use during the day.
Step 16: System Testing and Commissioning
Once the panels, inverter and electrical connections are installed, the system needs to be tested.
Commissioning checks that the system is working safely and correctly.
This may include:
- Electrical safety tests
- DC string testing
- Inverter setup
- Monitoring setup
- Checking panel generation
- Testing isolators
- Checking system labels
- Battery setup, if included
- Verifying correct operation
- Checking export arrangements
The installer should not simply fit the panels and leave. The system needs to be tested and commissioned properly.
Step 17: Monitoring Setup
Many modern solar panel systems include online or app-based monitoring.
Monitoring can show:
- How much electricity the panels are generating
- How much energy the home is using
- Whether electricity is being exported
- Battery charge level, if a battery is installed
- System performance over time
- Fault alerts or maintenance information
The installer should show you how to access and understand the monitoring system.
You do not need to check it constantly, but it can be useful for spotting changes in performance and learning how to use more of your solar electricity.
Step 18: Handover and Paperwork
At the end of the installation, the installer should explain how the system works and provide the relevant documents.
This may include:
- System design information
- User manual
- Inverter details
- Panel details
- Warranty documents
- Electrical certificates
- MCS certificate, where applicable
- DNO notification or approval details
- Monitoring app setup
- Maintenance guidance
- Emergency shutdown instructions
Keep these documents safe. They may be needed for warranties, selling the property, insurance or export tariff applications.
Step 19: Understanding How to Use Solar Electricity
Once the system is running, the biggest practical question is how to make good use of the electricity it generates.
Solar panels generate most electricity during daylight hours. You may get more benefit by shifting some electricity use into the day, where practical.
This might include:
- Running washing machines or dishwashers during daylight
- Charging devices during the day
- Using timers carefully
- Charging a battery during solar generation hours
- Charging an electric vehicle when solar output is strong, where suitable
- Monitoring generation patterns through the app
This does not mean changing your whole routine. Small adjustments can help you use more of the electricity generated by your panels.
Step 20: Exporting Surplus Electricity
If your panels generate more electricity than your home is using at that moment, the extra electricity may be exported to the grid.
Some households can receive payments for exported electricity through an export tariff, such as the Smart Export Guarantee.
To access export payments, you will usually need the right meter and installation paperwork. Your installer should explain what documents you will need and whether any steps are still required after installation.
Exporting can be useful, but many homeowners aim to use as much of their own solar electricity as practical because it reduces the amount bought from the grid.
How Long Does Solar Panel Installation Take?
The installation time depends on the size and complexity of the system.
A straightforward domestic solar panel installation may take one or two days once scaffolding is in place. More complex installations may take longer, especially where there is battery storage, roof access issues, electrical upgrades or multiple roof sections.
The overall timeline from first enquiry to installation can be longer because it includes survey, design, quotation, permissions, DNO checks, scaffolding and scheduling.
Your installer should give you a realistic timescale before work begins.
Will Solar Panel Installation Be Disruptive?
Solar panel installation is usually less disruptive than many major home improvements.
Most of the work happens outside and on the roof. However, the installer may need access inside the property for electrical work, inverter installation, cable routes and monitoring setup.
You may notice:
- Scaffolding around part of the home
- Installers working on the roof
- Some drilling or fixing noise
- Temporary access restrictions
- Electrical work inside the home
- A short power interruption during connection
- Equipment stored safely on site during the work
A good installer should explain what to expect before installation day.
What Makes a Good Solar Installation?
A good solar panel installation is not just about the panels themselves.
It should include:
- A proper roof and electrical survey
- A system designed for the property
- Safe roof access
- Suitable mounting equipment
- Neat cable routing
- Correct inverter placement
- Electrical safety testing
- Clear monitoring setup
- Proper certification and paperwork
- A clear homeowner handover
- Advice on using and maintaining the system
The best installations are planned carefully and explained clearly.
Common Solar Installation Mistakes to Avoid
Before going ahead, it is worth being aware of common issues.
These include:
- Installing panels on a roof that needs repair
- Ignoring shading
- Poor cable routing
- Choosing an awkward inverter location
- Fitting more panels without considering actual energy use
- Not checking planning restrictions
- Not considering battery storage where evening use is high
- Not understanding monitoring or export arrangements
- Not keeping paperwork safe
- Choosing an installer without checking credentials
Most of these can be avoided with a proper survey and a clear installation plan.
Questions to Ask Before Solar Panels Are Installed
Before agreeing to a solar installation, ask:
- Is my roof suitable for solar panels?
- How many panels are being recommended and why?
- What annual generation is expected?
- How has shading been assessed?
- Does my roof need any repairs first?
- Where will the inverter go?
- How will cables be routed?
- Will scaffolding be needed?
- Will the system include battery storage?
- Will DNO notification or approval be handled?
- What warranties are included?
- What paperwork will I receive?
- How will I monitor the system?
- What maintenance is needed?
A good installer should be able to answer these questions clearly.
Final Thoughts
Solar panel installation is a structured process. It starts with checking whether your roof and electrical system are suitable, then moves through design, scaffolding, mounting, wiring, inverter installation, testing and handover.
For most homeowners, the visible work on the roof is only one part of the job. A good installation also includes careful planning, safe electrical connection, clear paperwork and practical advice on how to use the system once it is switched on.
Solar panels can be a useful part of a more energy-efficient home, especially when the system is designed around the property and the household’s electricity use.
At Warmr, we help homeowners understand practical energy-efficient home upgrades, including solar panels, battery storage, heating improvements, insulation and wider home efficiency measures. The right advice starts with understanding the property, so any system is designed to work properly from day one.